UA-33535312-1
Immerse yourself in all things beer
 
So what exactly is a session beer?  Well, depending on who you are talking to you will get a range of answers.  Some argue BJCP style guidelines and state that a session beer is either an English styled Mild or Bitter because the term session beer likely originated there.  Some debate that it goes further than this argument and define the style in terms of alcohol content.  Some may include Light mass produced American lagers in this category while others may not. What they do I think of as a session beer?  I believe it can be just about any style and I personally fall more into the category that argues ABV% as the defining factor.  So in my definition a Michelob Ultra would technically fall under the “definition” but that still doesn’t mean its any good.

In the end though it doesn’t really matter how you define it as long as you know what you are looking for and this post is more about generic guidelines to follow regardless of the style.  After doing some reading I picked out a few general tips following recipe formation from grain selection to mashing to hops to yeast to cold side fermentation. But before we start, here are a few things I looked at:

http://www.byo.com/stories/beer-styles/article/indices/11-beer-styles/2344-session-beers-techniques
http://redwoodcoastbrewers.org/treatise_on_session_beers.html
http://beersmith.com/blog/2011/09/15/session-beer-with-the-mad-fermentationist-beersmith-podcast-22/

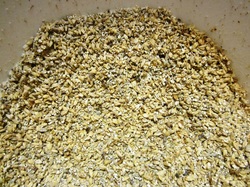
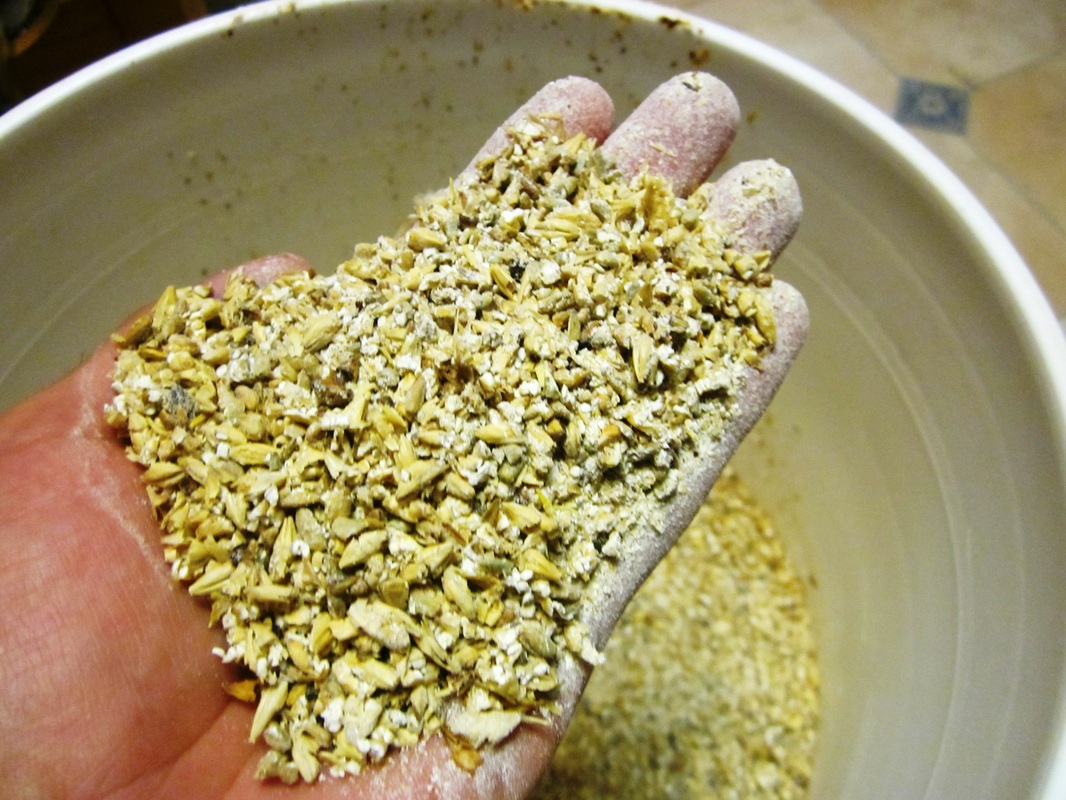
Grain:  The goal here (in my opinion) is to get a lot of flavor out of the small amount of grain you are using so character malts are essential.  Special Roast, aromatic, biscuit, crystal, honey and Munich malts are all great for adding additional body and flavor but they must be used in moderation.  Other good options include Vienna or lighter Munichs, Carafa, lighter Crystal, or small amounts of
roasted barley.  While sugar is often cited in English Bitters it brings down FG, raises the alcohol content and provides no flavor so it doesn’t seem necessary unless those are your goals. In the end it comes down to balance and because your overall poundage of grain is significantly lower than a “normal”beer, ¼ lb or even just 1-2 ounces of specialty malts can make a difference.  

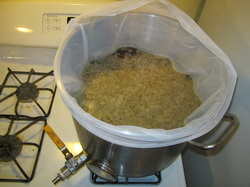
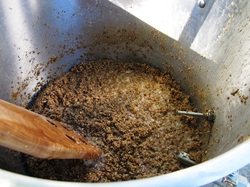
Mash:  With the end goal being a low alcohol brew with flavor and body you can safely mash higher than normal. Achieving a more dextrinous wort will leave a higher final gravity and more unfermentable sugar behind which will aid in body and flavor.  However, this is why balance of character malts is important. While you want body and flavor an excessive amount of crystal malt can easily overrun your beer and throw it out of balance.  Watching the percentages as opposed to the total weight can help prevent this.  

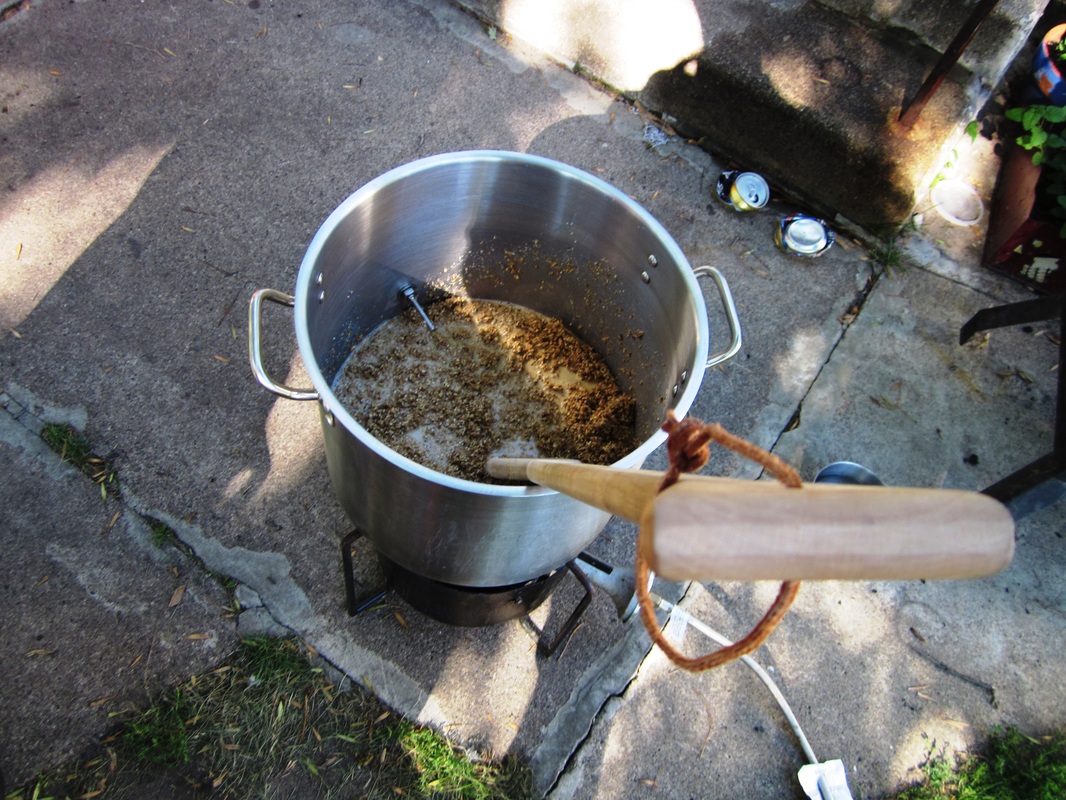
Other options for mashing which should be mentioned include the full volume mash and the decoction mash. Using full volume without a sparge has been argued to increase flavor and body by some and cuts a step out of your brewday.  Decoction mashing does the opposite by adding a lot of work to your brewday while debatably altering your beer in ways that cannot be achieved through grain additions and normal mashing but this is not the time or place to discuss the merits of a decoction mash.  Another option is boiling down the first runnings in a separate kettle to achieve some kettle caramelization which deepens the color and the flavor of the wort but may not be appropriate of all styles.  These are a few things to consider but none are ever necessary.

Hops:  Hopping a session beer is a fine line but the main goal is balance while achieving flavor.  Hops are tricky because levels of flavor and aroma are determined by style but staying within the bitterness ratio of a given style is a good guide.  If flavor and aroma is needed hops with lower alpha acids toward the end of the boil are easier to work with on a small scale than higher alpha acid hops.  Ignoring a traditional bittering hop addition at 60 minutes and hopbursting (continuously hopping from 15-0 minutes) can help reach your desired IBUs while achieving an intense flavor and aroma. Dry hopping of course is another option which aids in flavor and aroma.  

Yeast:  Again, this is a bit of personal preference but there are a few things to consider.  First is flavor.  Are you looking for the yeast to have an impact or simply to cleanly ferment the beer leaving the malt and hops to shine through?  Second is attenuation.  If you’re seeking that higher final gravity Safale US-05 may not be the way to go. Instead, less aggressive yeast strains with lower expected attenuation are available.  

Cold Side Fermentation: These steps aren’t really any different than any other beer but with a smaller and simpler beer off flavors have less to hide behind.  So, in short: ferment at a stable temp, pitch proper amounts of healthy yeast, be extra crazy about cleaning and sanitizing and properly aerate your beer.  Cold conditioning can also achieve a solid and drinkable product but isn’t always necessary.

 
Picture
Like many American craft brew lovers I’m a big fan of hops.  That said I’m not such a fan of only being able to drink a few of my favorite hoppy beers because of the alcohol content.  Now of course I love a good IIPA but now that it is football season I like to sit back and have a handful of beers so I decided one of my brewing goals will be to create a low gravity, hoppy Pale Ale.  Basically an American session beer.  Working off of my previous Galaxy Pale Ale recipe I’ve tweaked a few things resulting in this: 
 
5 lbs 4.0 oz Rahr 2-Row Pale (1.7 SRM) 58.3 % 
2 lbs 12.0 oz Vienna Malt (3.5 SRM) 30.6 % 
12.0 oz Caravienne Malt (22.0 SRM) 8.3 % 
4.0 oz Biscuit Malt (23.0 SRM) 2.8 %
  
0.50 oz Cascade [5.50 %] - Boil 60.0 min 10.7 IBUs 
0.50 oz Cascade [5.50 %] - Boil 15.0 min 5.3 IBUs
0.50 oz Galaxy [14.00 %] - Boil 10.0 min 9.9 IBUs
0.50 oz Cascade [5.50 %] - Boil 5.0 min 2.1 IBUs 
0.50 oz Galaxy [14.00 %] - Boil 5.0 min 5.4 IBUs 
 
1.0 pkg American Ale II (Wyeast Labs  #1272) [124.21 ml]
 
1.00 oz Galaxy [14.00 %] - Dry Hop 7.0  Days
 0.50 oz Cascade [5.50 %] - Dry Hop 7.0  Days
 
Thanks to the help of a brewing forum I recently decided I should try to stir more aggressivly when batch sparging so after draining the
first runnings and mixing in the 180* water I vigorously stirred for two minutes.  Low and behold my pre-boil gravity was almost ten points higher than anticipated and when everything was all said and done I overshot my final gravity by eight points upping my overall brewhouse efficiency from 72% to about 80%. So much for an Americanized session beer though as this tipped me over 5% ABV. 

Yet another new trick I tried on this brewday was whirlpooling my wort before chilling.  The first thing I needed to do was rig up a copper diptube in place of the bazooka screen I had been using to keep hops out of the plate chiller.  Easy enough process once the right tools were found.  Next step was testing out the whirlpool action so I stirred my wort with a large sanitized spoon and let it sit for 10-15 minutes.  I’ll admit the chilling process was a bit nerve racking as I was just waiting for the plate chiller to clog but everything went smoothly and I ended up with a nice little pile of hops in the middle of the pot with very little wort left behind.


So, all in all a nice brewday.  I learned a few things which I don’t know why I hadn’t tried yet but better late than never right? 
Also, I ended up with potentially a pretty nice Pale Ale that I may or
may not end up scaling back to hit somewhere between 4-4.5% ABV.  


Picture
This was the best picture I got although I was alble to suck a little more wort out of this guy before all was said and done.
 
Picture
So after my incredibly long and trying decoction brew day a while back I wanted something easy to do so I wrote up a quick recipe for a 2.5 gallon APA using some 2-Row mixed with about 7.5% each of Biscuit Malt and C-20.  For the hops I figured I would try out a couple of new ones and decided on Palisade which I've gathered is a neutral bittering hop and Australian Galaxy for their passion fruit flavor and citrus aromas.  Keeping with the theme of simplicity I used straight up, good old Safale US-05.

There are so many good write ups out there that I'm not going to delve into process much but rather just post some links and discuss a couple reasons why I enjoy the BIAB process.  

I personally like these two explanations because they were all about stove top BIAB which is what I do.
http://www.northernbrewer.com/connect/episode/brewing-tv-episode-54-jakes-got-a-brand-new-bag/
 http://homebrewmanual.com/brew-in-a-bag/ 
This one was also great and was for larger batches outside:
http://www.homebrewtalk.com/f36/biab-brewing-pics-233289/
 
So why do I love BIAB?  I'll give you three quick reasons.
1st:  It's super easy!  With an hour long mash, an hour long boil and all the heating and cooling time in between the brew day really isn't much shorter but it feels easier for some reason.  Perhaps its because I don't have to lug all my cooler gear from up in the basement and the burner and propane from the garage.  Perhaps it's the fact that I get to sit in the comfort of my own home and just hang out while it works its magic on the stove top.  Perhaps it's how easy cleaning and putting away equipment is.  Or most likely it's the combination of all four.  

Either way, BIAB is simple.  Especially when employing a full volume mash without a sparge.  I hit all of my numbers perfect with an expected brewhouse efficiency of 60% and I'm sure I could have gone higher had I sparged a bit but I was once again shooting for something quick, easy and painless.  However, bumping my efficiency up a handful of points and saving a dollar or two on grain just doesn't seem worth the extra heating and effort when that is what I am specifically trying to avoid. 

2nd:  It let's me brew more.  Now I know not everyone is into this seeing that people are strapped for time so people moving from five gallon batches tend to move to ten or fifteen rather than move down to three or less.  But for me I like the process and more importantly I like experimenting with ingredients and recipes.  I feel safer trying out new things on small stages rather than jumping straight to a five gallon recipe.  So far small batches of BIAB have allowed me to test out a Smoked Imperial Stout, an English Barleywine, my Hybrid Citraburst, and I have a slew of other recipes waiting for testing.  

3rd:  While this wasn't my experience, I could see BIAB being a great introduction to all grain brewing.  It is cheap, easy and a step up from extract brewing.  Instead of jumping off the deep end it would offer a brewer the chance to spend a few bucks on a proper bag and maybe a bit more on a larger pot which they will need anyways for all grain brewing or full volume extract brews.  It potentially could be a nice intermediate step.


Picture
The wort is cooled, the yeast is pitched and the decocted Oktoberfest is sitting downstairs after what can only be described as an epic brew day.  So now the questioning begins; was it worth it?  Obviously without the final product here in front of me there is no real way of knowing but at least I can talk about it from the perspective of someone who just finished the process so I’ll briefly run through some pros and cons of my decoction mash today.  If you are reading this and don’t know much about decoction mashing here are some links I looked up to do my research:

http://byo.com/stories/techniques/article/indices/45-mashing/541-decoction-mashing-techniques

http://beaconhillsbrewhouse.wordpress.com/2011/05/23/decoction-mashing-benefits-and-cons/

http://thebrewingnetwork.com/shows/527

Pros:

1.      It was fun!  Honestly I like the homebrewing process as much as if not more than the finished product so I like to do things hands on when I have the time.  Decoction mashed definitely fit the bill.  It sounds weird but I feel more connect to this beer than any other because it was as hands on as you could without actually sticking your arms in your wort.  Endless stirring while standing directly next to a flaming burner was so much more work than any other normal, single infusion beer.

2.      My efficiency was through the roof.  Ten percentage points above my expected brewhouse efficiency to be exact which yielded me an Oktoberfest starting at 1.062 when I was shooting for 1.053.  Imperial Fest? 

3.      I got to sound cool talking to my friends about the history of the decoction mash and thoroughly enjoyed the process of learning more about it.  As a history buff this is the kind of stuff I like so when I combine it with beer I’m pretty much in heaven.

Cons:

1.       It really, really, really took a long time.  I did a protein rest which I normally bypass, pulled and boiled a ton of grist to get up to 147*, let it sit, pulled more and boiled to get up to 156*, waited, pulled the wort which I heated up for a mashout addition at 168* and then did my normal batch sparging routine.  For someone who has been working on transforming their brew day into an efficient well oiled machine this was definitely different.

2.      I struggled to hit my temps and needed additional boiling water each time to bring them up.  I need to do some research on this but I took the lazy route and let Beersmith dictate my schedule for me and it did not work out well.  I’m not positive in this but my hypothesis is that I pulled to thickly from the grist without enough liquid which caused unequal heating when adding back the boiled grist. 

3.       I burned through a ton of propane today.  Because I like to conserve energy sources as much as possible and because I’m super cheap I’ve been trying to cut back on propane usage lately which has resulted in heating strike water on the stove top instead of on the propane burner.  I guess I could have boiled my decoctions on the stove tops as well but it was such a nice day outside that I did it on the burner and when combined with a ninety minute boil I really put a dent in my propane supply.

So that leaves the lingering question; was it worth it?  In the end I think it was simply because of the first pro that I listed; it was fun.  With today’s improved malt quality, the invention of the thermometer and the ease of a “normal” brew day I’d say there is no way a decoction mash could be worth it if you are not enjoying the added work.  Like I said, it really, really took a long time to do and was very intensive both mentally and physically so if you aren’t interested in adding a somewhat unnecessary historical method to your beer I don’t think you should do it.  If you’re a hands on beer nerd who likes to do more than what is required than this might be for you to try at least once. 

Just finished up what seemed like an epic brewday

 
Picture
Yesterday my brewday started with 3.2 ounces of water in a spray bottle rather than the traditional few gallons of strike water in the boil kettle.  In case you missed my first posting I wanted to make a run at conditioning my malt before crushing it which basically means wetting it down so I can get a better crush while leaving the hulls of the grain intact to help with lautering.  The spraying and stirring went easy and afterwards the grain had a wet and leathery feel to it rather than the it's dry usually texture.  I took this as a good sign so I went ahead with the milling which was more difficult than usual.  Perhaps it was due to the wetness of the grain but I experienced more trouble getting the drill to supply enough power to the mill without over doing it.  It was a constant state of squeezing and releasing trying to find the right balance which is noticeably more work than under normal circumstances.  

After milling I took a look at the crushed grain the first thing I noticed was that it was more fluffy in appearance and less powdery than usual. Upon closer inspection the hulls appeared to be more intact as well which led me to checking to see if any remained un-cracked.  There were none so I started up the strike water and went into prep-mode like any other brewday.  

This is were the story gets more interesting. For whatever reason my mash in temp was five degrees lower than I wanted.  I added some boiling water but only got it up another two degrees so I ended up mashing at 151 instead of 154.  Oh well right?  Same story with mash out; added what Beersmith told me too and missed by about six degrees.  Lautering however was alright which is what is important here in my malt conditioning experiment.  With nearly 30% Rye in my recipe the first runnings came out easily enough until it gummed up after the water dipped below the grain bed.  I don't think I left much in so I guess I was successful in this regard.   

Either through user error or some Beersmith fail (which I've found rarely happens so I'm guessing user error) I wound up with too much sparge water so I had to leave some behind due to the limited size of our boil kettle.  I also had a boil over and lost a bit of wort to trub in the boil kettle so I wound up with 4.75 gallons instead of five and still missed by a few points on my starting gravity.  All in all I guess it was an ok brewday considering it was 93 degrees outside and I was struggling to keep up with everything.  

So was it worth it?  Honestly I would have to say no at this point but I'm going to try it one more time just to be sure.  Considering the extra struggle with the grain mill, a slightly stuck sparge and no uptick in efficiency I don't really see the benefit at this point but considering the user error with the sparge water and every other little mishap it would be worth it to try again on hopefully a more smoothly routine brewday.  

Picture
First thing I realized is that it is hard to get a decent shot of grain on a cheap camera but here it is. You can kind of notice the way the hulls look almost unbroken in this picture.

 
I have read about malt conditioning a few times in the past now but have never really felt the need to try it until now.  My next brew is going to be the second coming of my Redheaded Rye-child which uses a bunch of rye (27.3%) which is making me nervous about lautering.  I've heard that there are several advantages to conditioning your malt including: increased efficiency, a lower chance of a stuck sparge and lower tannin extraction which all sound good to me.  

After doing some research on these two websites:
http://www.brewersfriend.com/2010/01/16/malt-conditioning/
http://braukaiser.com/wiki/index.php?title=Malt_Conditioning
I have decided to go ahead and do it.  The rule of thumb seems to be adding water equivalent to 2% of the weight of the grainbill.  My grain bill is eleven pounds which means it is 176 ounces which when multiplied by 2% equals 3.5 ounces of water so I guess I'll go with that.  Not sure but I think I'll do it fifteen minutes before crushing.  Pictures and notes to follow.